
In case you haven’t heard of Drip , it’s a powerful email service provider that comes with a ton of bells and whistles.
It’s perfect for bloggers just starting out and it’s super useful for startups or SaaS companies because the price is reasonable and you get access to a ton of automation features.
And so today I thought I would take some time to show you one of those automation features: trigger links.
A trigger link is a special link generated by Drip that, when clicked, it kicks off an automation rule that is defined by you.
It’s similar to creating link triggers in ConvertKit and will save you tons of time and make you a super smart marketer.
Why you should use trigger links
There are some folks out there who are happy to just use the basic nuts and bolts of an email service provider but what they don’t realize is that they’re missing out on a huge opportunity to automate a lot of what they do.
Trigger links are a form of automation and in this article, I’ll walk you through how to create the trigger links and give you some examples of when you might want to use one in your particular situation.
Creating a trigger link in Drip
Before we get started, you should know there are three ways you can create a link trigger in Drip.
- Using a basic rule
- In a workflow
- On a website that has your Drip snippet code installed
We’ll cover all three of these today.
How to create a link trigger using basic rules
Step 1) Log into your Drip account
Then click the “Automation” tab at the top of the page. Then click “Rules” then “New Basic Rule”

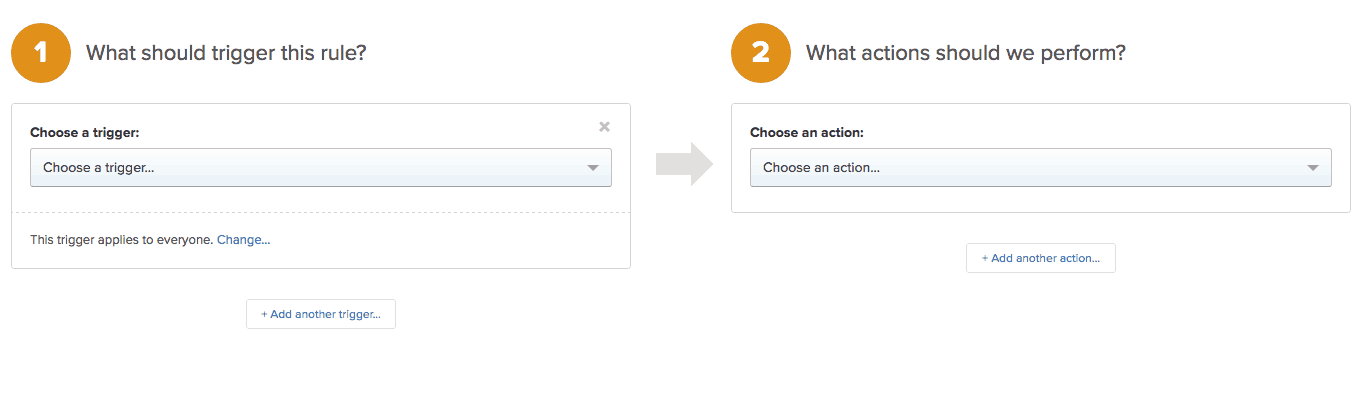
On the automation rule page, it’s divided into two sections.
The left side is what will trigger the rule and the right side is the actions you want Drip to perform after this rule is triggered.
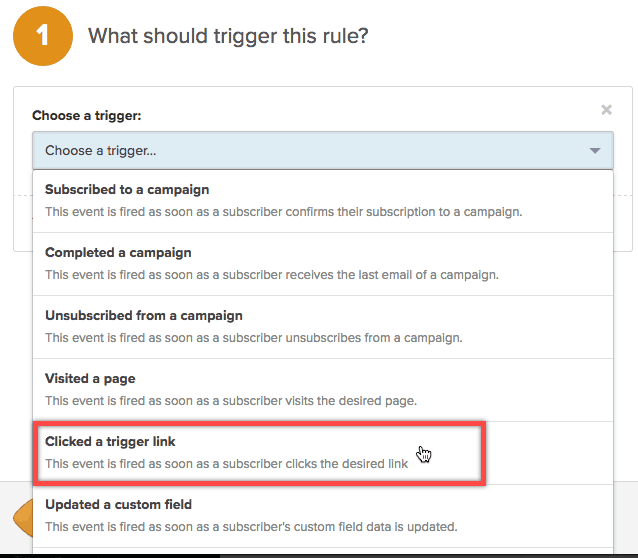
Step 2) Select what should trigger this rule
In this case, since we’re creating a link trigger, we want to choose “Clicked a trigger link”.
Step 3) Enter the link URL
This is where you might need to take some time and think about the page you’re sending folks to after they click the trigger link.
For example, if I just created a new email course and the link will automatically subscribe them to a campaign, then I might send them to a thank you page that tells them something like “Thanks for signing up!”
Once you’ve decided where you’re going to send people, it’s time to enter the destination URL.
In this example, I’m going to send them a thank you page.

Step 4) Assign the actions for this rule
The second part of creating this trigger is to define the action you want to have happen.
You can also apply a tag (or remove a tag) if you wanted to tag people on your email list that are interested in your upcoming course or product launch. That way you can segment them out in future emails and send them highly targeted messaging to get them to take action.
With Drip, there are numerous other actions you could perform:
- Move them from one campaign to another
- Remove them from a campaign
- Restart a campaign
- Send a one-off email
- Record a conversion
- Start a workflow
- Flag them as a prospect
In this example, I am going to send them a campaign which has a series of educational emails for my ebook launch team.
Note: this is a no-brainer but you’ll need to first have the campaign created to see it in your drop-down
Step 5) Assign any additional triggers or actions to this rule
You may have noticed the small font that says “add another trigger” or “add another action” near the bottom of the screenshots.
If you need to, feel free to add to any triggers or actions to this rule.
For example, if I wanted to send this same campaign to someone who submitted a specific form or completed a purchase, I can add those triggers.
Any additional triggers that are added will be given the condition of “OR” meaning that if someone does any of the triggers listed, it will fire off the action.
You can do the same for actions. Like I mentioned above you can send a campaign and apply a tag and flag them as a prospect.
Any additional actions that are added will be given the condition of “AND” meaning Drip will do all actions listed in this rule.
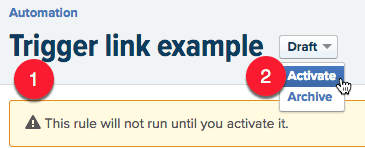
Step 6) Save the rule, rename the rule, then activate it
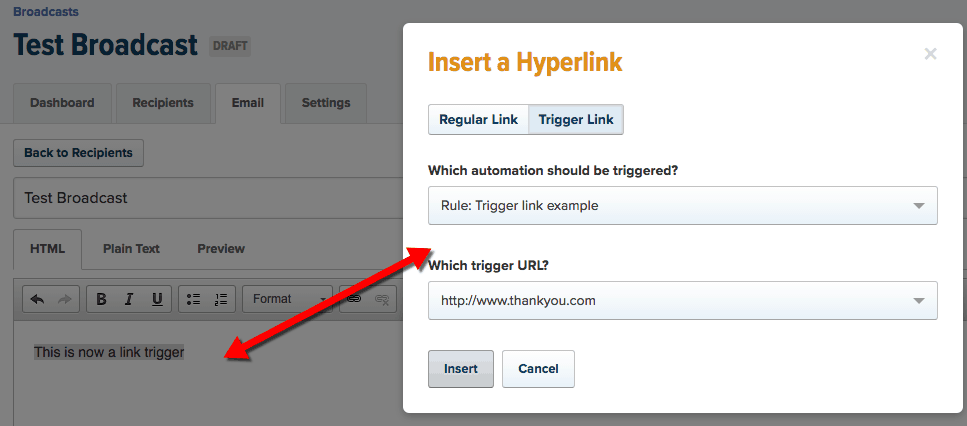
Step 7) Insert the link trigger in your emails
Now when you’re composing an email anywhere in Drip, you can select the trigger link whenever you select your text and click the insert link button.
You’ll then see a dialogue box that asks you to choose the rule you just created.
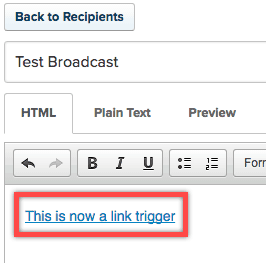
Now anytime someone clicks this link in your email, the rule will fire off.
How to create a trigger link using workflows
Visual workflows are a huge differentiator for Drip when it comes to email service providers. It just launched last year and it has really made this application both flexible and powerful.
Without diving too deep into workflows, think of them as automation rules on steroids.
Nearly any kind of process, or workflow, you can think of can be accommodated using this feature. To learn more, go here.
Now, let’s continue with creating our trigger link in a workflow.
Step 1) Log into your Drip account and click “Automation” from the top menu
Then click “new workflow”.

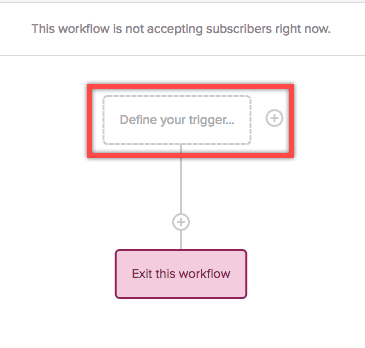
As you can see, your workflow needs a trigger – something to kick it off and get it started.
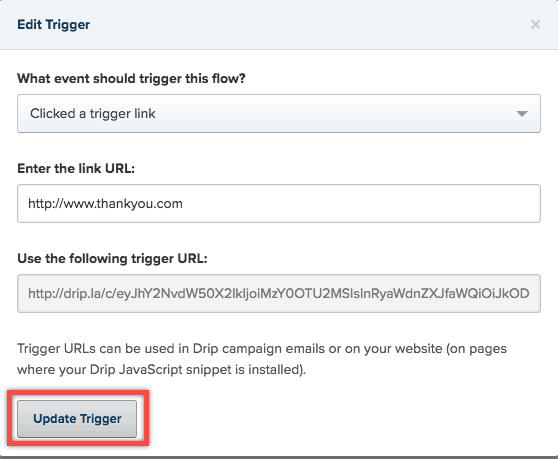
Step 2) Click “define your trigger”
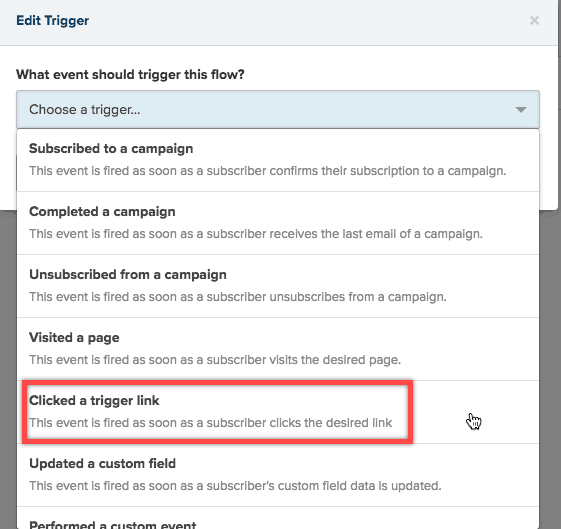
Step 3) Choose the trigger type
As you can see, it’s the same dialogue boxes we saw when we created the trigger link using rules so just select “clicked a trigger link”
Step 4) Enter the destination URL and click “update trigger”
Step 5) Finish building out your workflow
Create the remaining actions in your workflow
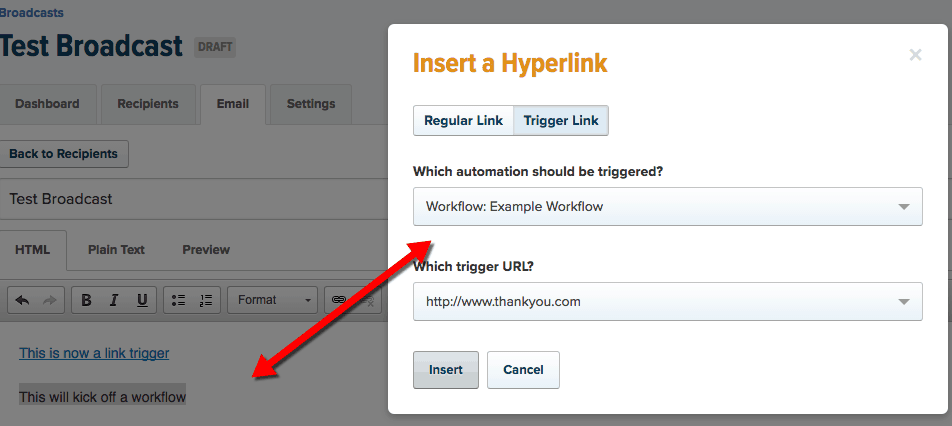
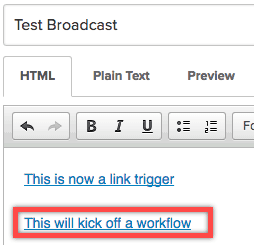
Step 6) Insert the link trigger in your emails
Just like before, you’ll now be able to select this trigger link inside the email editor when you’re creating hyperlinks.
Only this time, you’ll want to make sure you choose the trigger that is labeled as a workflow.
Now anytime someone clicks this link in your email, the workflow will fire off.
Note: be aware that your workflow will show up in drop-down even if it’s not active so don’t forget to activate it!
How to create a link trigger on a website
You may also have a need to use a trigger link on a website to fire off a rule or a workflow.
To do so, just copy the trigger link and paste it onto any website that has Drip’s tracking snippet installed and it will:
- Fire the action you’ve specified in the trigger link’s basic rule, as long as the person clicking the link is a subscriber of yours
- Work like a normal link if the person clicking is not a subscriber
Just one other note about using a trigger link on a website…
If you want to add a trigger link to page that does not contain Drip’s tracking snippet (a landing page, for example), you’ll need to add your Drip tracking snippet to that page, and if the page is on a different domain than your site, you’ll need to enable cross-domain tracking.
Trigger link examples
As you can see from above, there are TONS of things you could have trigger links do for you inside of Drip.
It took me about 10 minutes to come up with these ideas
- A subscriber clicks a link in your email to be notified about an upcoming product of yours. You send them a one-off email and tag them as “interested in X”
- You just launched a free email course and want to give your subscribers an option to receive the campaign. They click it and are then sent the lessons without having to enter their information again
- You would like students of your free email course to be able to take it at their own pace instead of receiving the emails at the predetermined gaps. Add a link in each email which will then fire off the next lesson immediately. This lets the eager beavers consume the content faster
- A user clicks a link trigger to be removed from a campaign, or course, without having to unsubscribe from your list altogether
- You want to track the number of downloads of a PDF. Upload the PDF to your site, copy the link and turn it into a trigger link. Then add a conversion goal inside Drip to track the number of downloads
- A subscriber clicks a link to your sales page which will then “time-stamp” the click. Then once on the sales page they will see a countdown timer that will expire exactly 48 hours from when they clicked this link. A little more complicated but you can mimic a live launch with this tactic
- You put a link to an article about web design in your email. You’re a web designer so you then tag this person as “web design” so you can start sending more relevant emails and content to them
- You list three categories of topics you have on your blog and ask the subscriber to “self-select” what they’re most interested in. When they click the link, it sends them a series of emails with all of your content on this topic, thus helping you establish trust and authority with your email list
This is not a complete list of things you could do with trigger links and your specific needs and goals with your email list will be different.
Conclusion
You just learned how to create trigger links inside Drip. This is just one of many powerful automation features Drip has to offer.
What will you do with a trigger link?
Better yet, what can email automation do for your business?
Leave a comment below and let me know what you think. I’d love to hear from you!
PS: You can sign up for Drip today for free and you get EVERY feature. Pretty cool, right? Go here to check it out.